
For many professionals, gaming serves as a delightful escape from demanding schedules. Building your own custom gaming PC might seem daunting due to time constraints, yet it offers unmatched performance and personalization. Tailoring your machine to fit your specific needs can lead to an unparalleled gaming experience. This guide is designed for those who are tight on time but keen on crafting a powerful PC to transform their gaming life. We’ll simplify complex components and walk you through everything from selecting parts to final assembly, ensuring you enjoy the process while gaining a rig that suits your style and preferences.
Selecting the Right Components
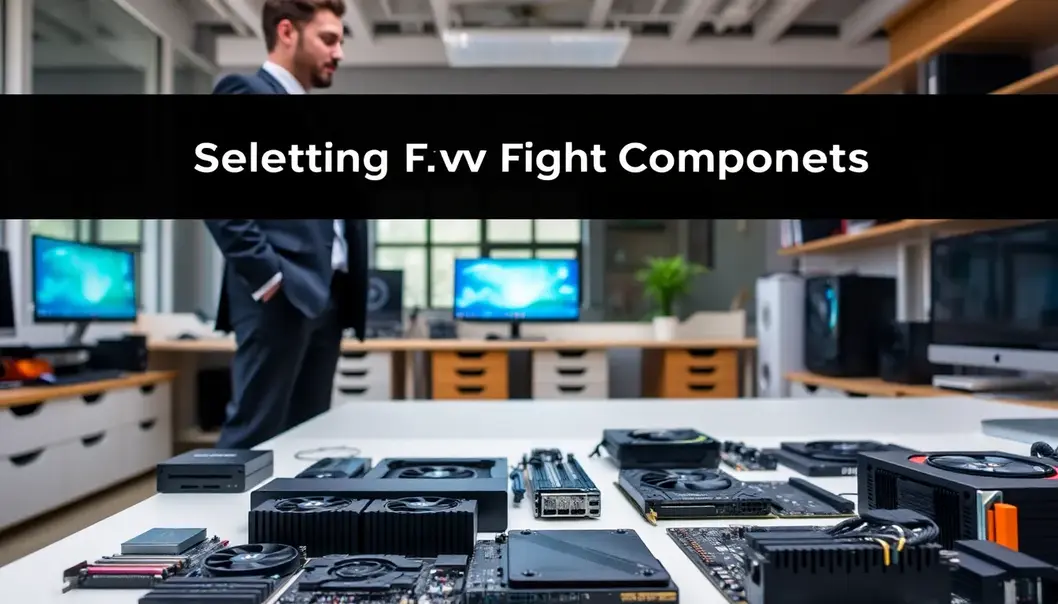
Choosing the right components for a custom gaming PC can be a daunting task, especially for busy professionals who may lack time to delve into the nitty-gritty of hardware specs. However, with a strategic approach, you can select components that align with your needs without exhausting your schedule or budget.
Start by defining the core purpose of your build. Are you aiming for ultra-high-definition gaming, or do you need a PC capable of handling heavy multitasking and creative tasks like video editing? Identifying your primary use case will guide you toward the right balance of power and efficiency.
Performance versus Budget: Prioritize the key components where performance cannot be compromised. The CPU, graphics card, and RAM are the heart of any gaming PC. A balanced investment in these areas ensures optimal performance without stretching your budget. Choose a CPU that supports your desired performance level while ensuring it fits into the motherboard you plan to use. For graphics cards, opt for one that strikes the right balance between power and price, avoiding the high-end models unless absolutely necessary, as they often yield diminishing returns relative to cost.
Time-saving Factors: As professionals, time efficiency is crucial. One way to save time is by selecting a motherboard that supports a wide range of connection options. This ensures easier installation and future upgrades, such as adding more RAM or expanding storage. Opt for components that have straightforward, user-friendly installation. This reduces the time spent on assembly and minimizes the likelihood of errors or complications.
Future-proofing: When selecting components, it is wise to consider future-proofing your build. Choose a motherboard with extra RAM slots and space for additional storage drives. This approach allows for easy upgrades and prevents the need for a complete system overhaul in the near future.
Finally, consider additional components like cooling solutions and power supply units (PSUs). Efficient cooling is vital for maintaining performance and longevity, especially if your gaming sessions tend to be lengthy. Similarly, a reliable PSU ensures stable power delivery and protects your investment.
By carefully evaluating your needs and considering both performance and budget, you can efficiently select components that align with your goals. Leveraging these strategies will enable busy professionals to create a highly functional gaming PC without disrupting their schedules.
Assembling and Optimizing Your PC

Creating a custom gaming PC is akin to crafting a high-performance machine tailored to your precise needs. The assembly phase is where your choicest components come together, demanding not just meticulous attention but also an understanding of how efficiency and organization play pivotal roles. Here’s how you can efficiently assemble your gaming PC and optimize it for maximum performance.
Begin your assembly by setting up a clean, static-free workspace. Organize your tools and components, as doing so will minimize your assembly time and reduce the risk of misplacing crucial parts. A well-ordered space allows you to focus on the task at hand without interruptions, particularly important for busy professionals.
Start with the motherboard, the backbone of your system. Carefully seat the CPU, ensuring that you align it with the socket correctly. Apply thermal paste evenly, a small but crucial step for optimal cooling performance. Next, mount the CPU cooler securely. Secure the RAM by pressing it into the slots until it clicks into place; ensure you consult the motherboard manual for the correct slots to use, optimizing dual or quad channel memory capabilities.
Mount your motherboard into the case, aligning it with the standoffs to avoid short circuits. Attach your power supply into the designated spot, ensuring it can comfortably reach all necessary connections. Connect the power cables to your motherboard, CPU, and drives, leaving enough slack to reduce tension yet avoiding excessive cable length.
Achieving good cable management is essential not only for aesthetics but for airflow and ease of assembly. Bundle cables using zip ties or Velcro straps and route them behind the motherboard tray whenever possible. This not only enhances cooling by improving airflow but also simplifies future upgrades and maintenance.
Installing the GPU comes next; gently slot it into the PCIe slot and secure it with screws. Ensure that the power connectors are firmly attached. For storage, secure your SSD or HDD in their respective trays and ensure the SATA cables are correctly routed to the motherboard.
With assembly complete, it’s time for software installation. USB installers are a time-efficient solution for busy professionals. Begin with your operating system, then move to driver installations, starting with motherboard drivers, GPU drivers, and any peripherals. Regularly update these drivers to ensure the optimal performance and security of your system.
For those working in pet-friendly environments, consider taking measures to protect your PC from dust and hair, possibly with additional dust filters or through strategic positioning. You might find some useful home organization tips here, which can help in creating a harmonious workplace where both your PC and pets coexist peacefully.
After installation, optimize your system. Adjust power settings for balance between performance and energy efficiency. Use tools to benchmark and calibrate your system, ensuring it operates at its peak. Overclocking CPU or GPU can significantly boost performance, but it is crucial to follow detailed guides to avoid over-stressing components.
By combining methodical assembly with strategic optimization, you will construct a powerful gaming PC that not only meets but exceeds your professional and recreational needs, all without infringing on your valuable time.
Final words
Crafting your own gaming PC doesn’t mean surrendering precious time. By methodically selecting components and streamlining the assembly process, you can efficiently build a custom rig that complements your lifestyle. This endeavor not only fosters a sense of achievement but also rewards you with tailored performance, enhancing your gaming adventures. Whether you’re looking to unwind or boost creativity, a personalized gaming PC could be the perfect addition to your workspace.
Ready to build your own gaming powerhouse? Explore our range of components and expert advice.
Learn more: https://www.expertpcbuilds.com/gaming-pc-components
About us
Expert PC Builds offers a curated selection of components and expert guidance tailored for those keen to craft high-performance gaming PCs efficiently.